This article will cover the software and steps required to upload the case of the month to aasm.org, our WordPress website.
Required Software: WinSCP - Download the Portable executables - Link
Initial setup of Win SCP
This step will only have to be done the first time you run the application. After downloading the file, extract the contents to a new file. You will then want to run the WinSCP.exe application.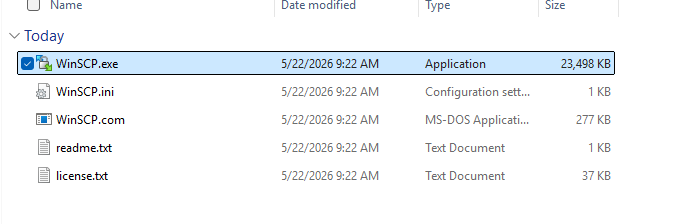
When the application loads you will be prompted to login. Using the information below, fill in the login details.
Host name: aasm.sftp.wpengine.com
Port Number: 2222
User name: provided separately
Password: provided separately 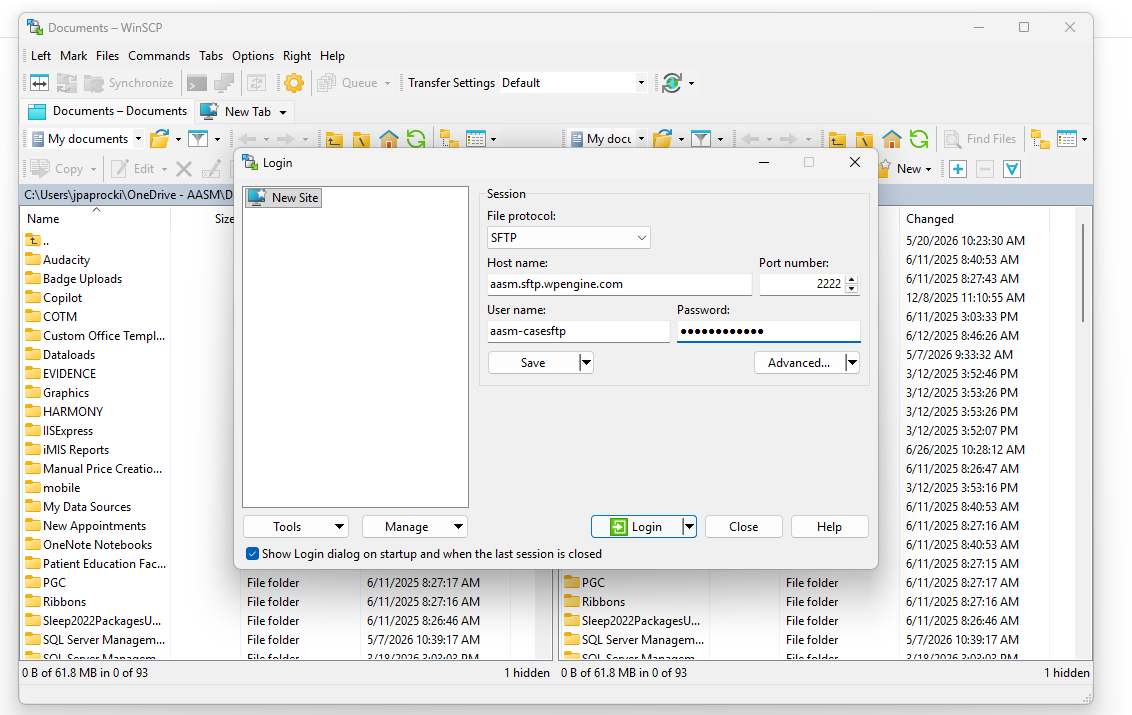
Before clicking login, click the Manage button in the lower left and select Save As, then click Save. This will save your details for future uploads.
Click the Login button. You will now receive a prompt to add a host key to cache. Click Accept.
Add Google Analytics to the Case of the Month Microsite and Upload to WordPress
Link to Loom
https://loom.com/share/8d00012cb1ef4d2d8b85d75099b8f941
Objective
This SOP explains how to add the Google Analytics code to the Case of the Month microsite, upload the updated files to the correct WordPress resources folder, verify the site loads correctly, and copy the final URL for use.
Key Steps
1. Open the microsite index file for editing 0:20
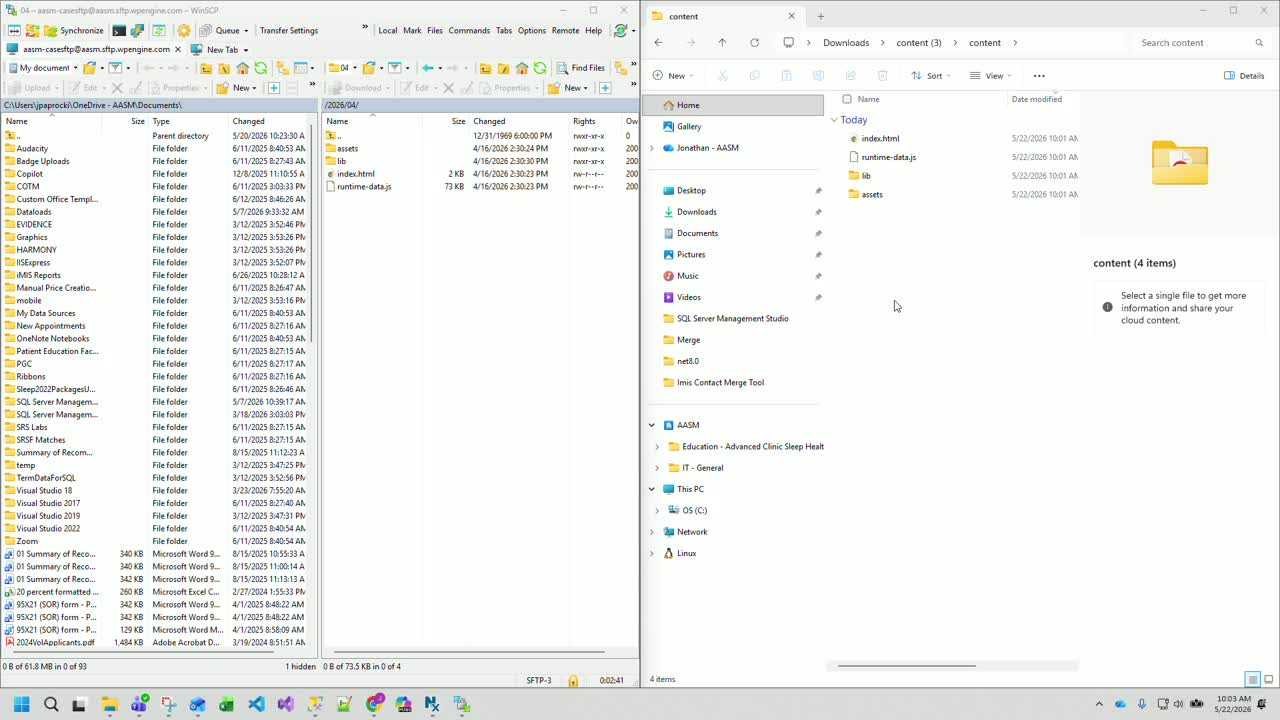
Locate the Case of the Month content folder provided for the project.
Find the index file in the folder.
Right-click the file and choose Open with > Edit.
Confirm the file opens in a text editor so you can make changes.
2. Insert the Google Analytics code into the HTML head section 0:39
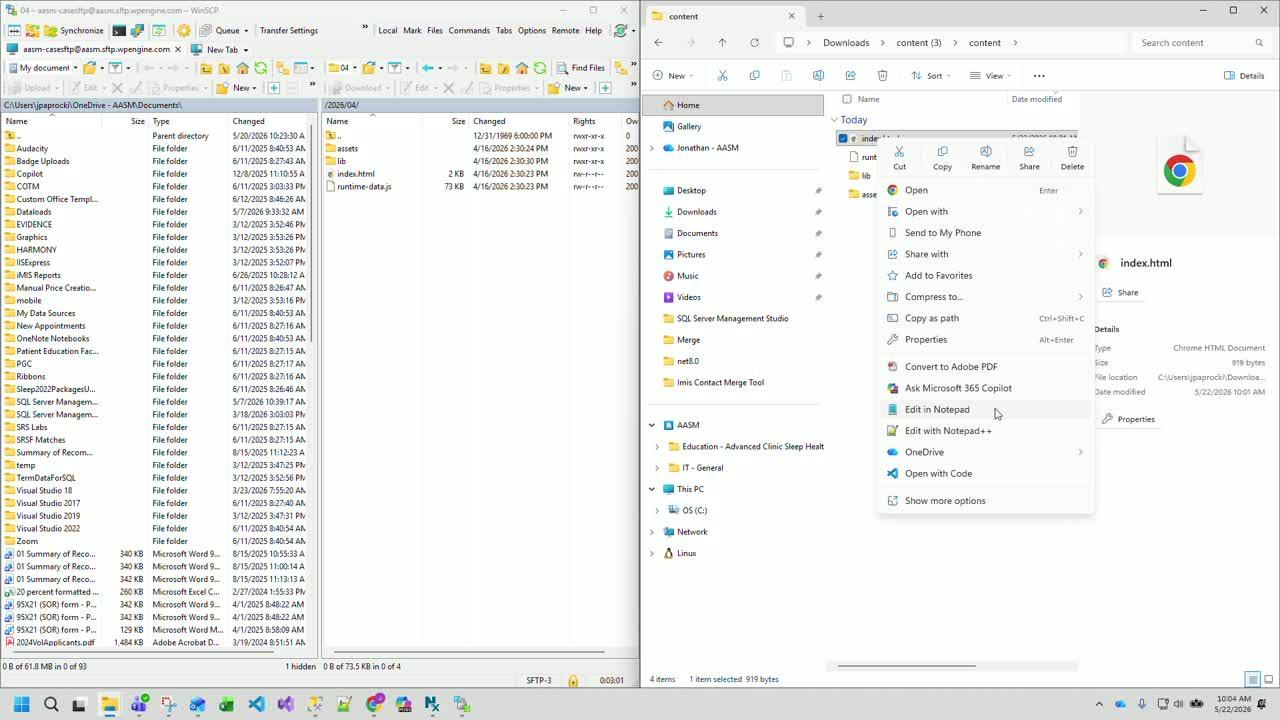
Find the area in the HTML file between the final
<script>tag and the closing</head>tag.Paste the Google Analytics code into that location.
Make sure the code is placed inside the
<head>section and not outside the HTML structure.Save the file after inserting the code.
3. Open WinSCP and navigate to the target upload location 1:35
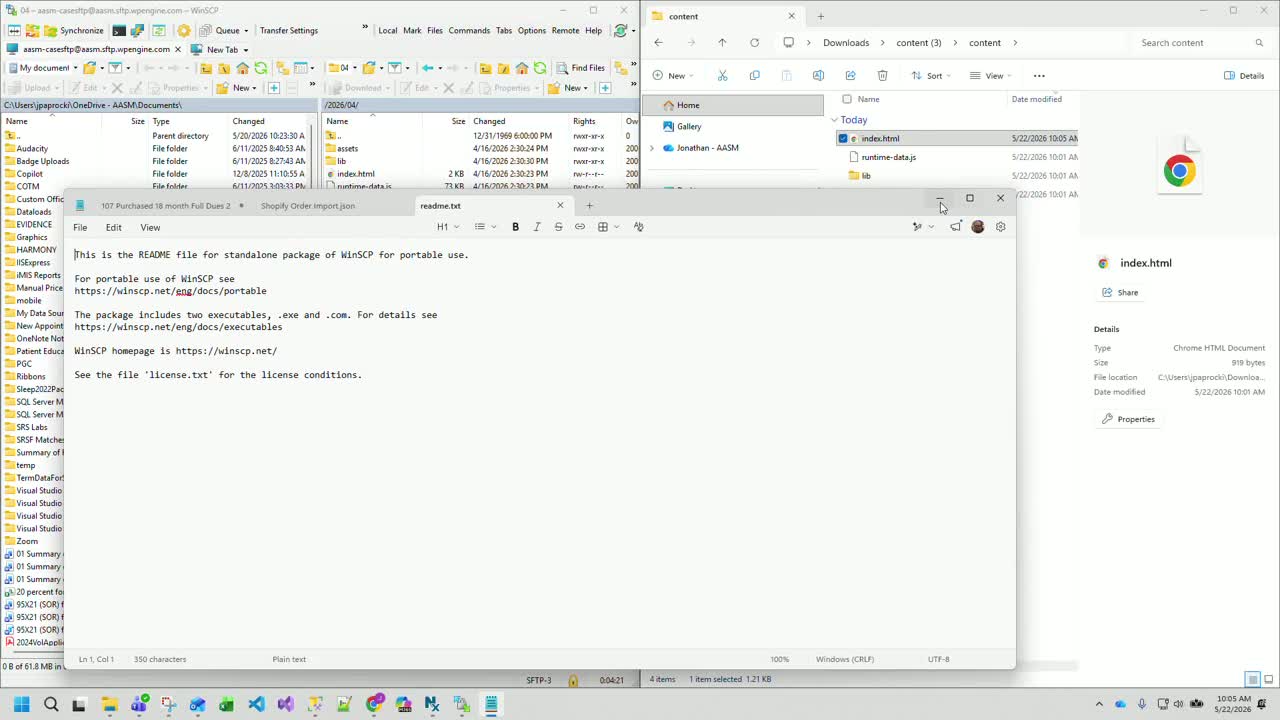
Launch the WinSCP application.
Navigate up one level if needed to reach the correct directory structure.
Prepare to create a new folder/directory for the upload location.
4. Create the destination folder in the WordPress resources path 2:04
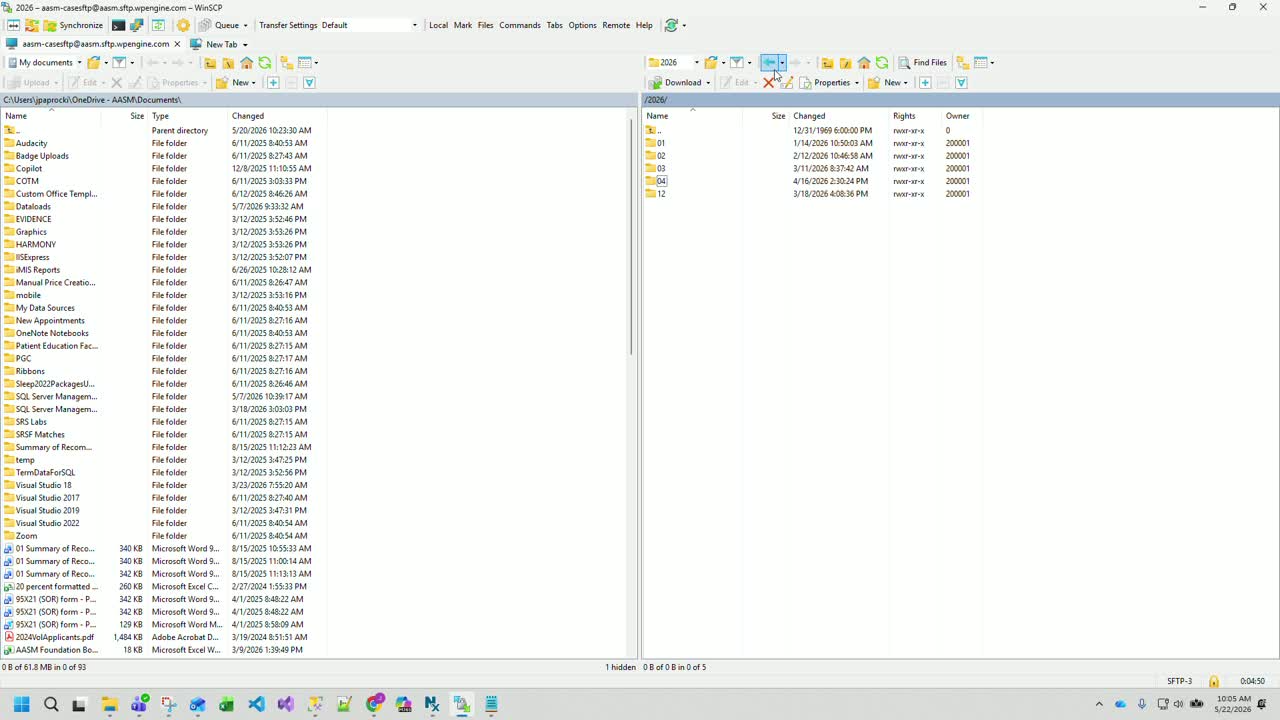
Create a new directory for the microsite files.
Use the required folder name for your project instance (example shown: 05).
Open the newly created folder so it is ready to receive files.
5. Locate the source files in Downloads 2:15
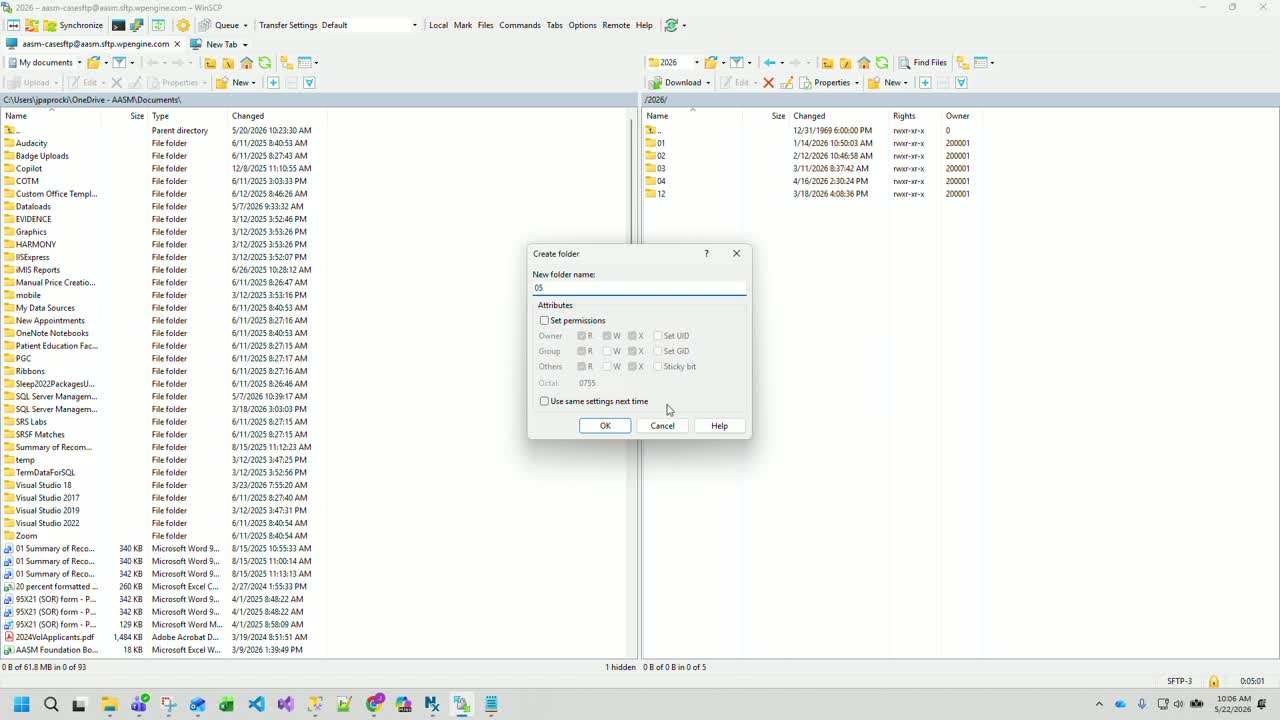
In WinSCP, browse to the Downloads folder.
Navigate through the provided content folders until you reach the microsite files.
Confirm you are in the correct source folder before uploading.
6. Upload all microsite files to the destination folder 2:28
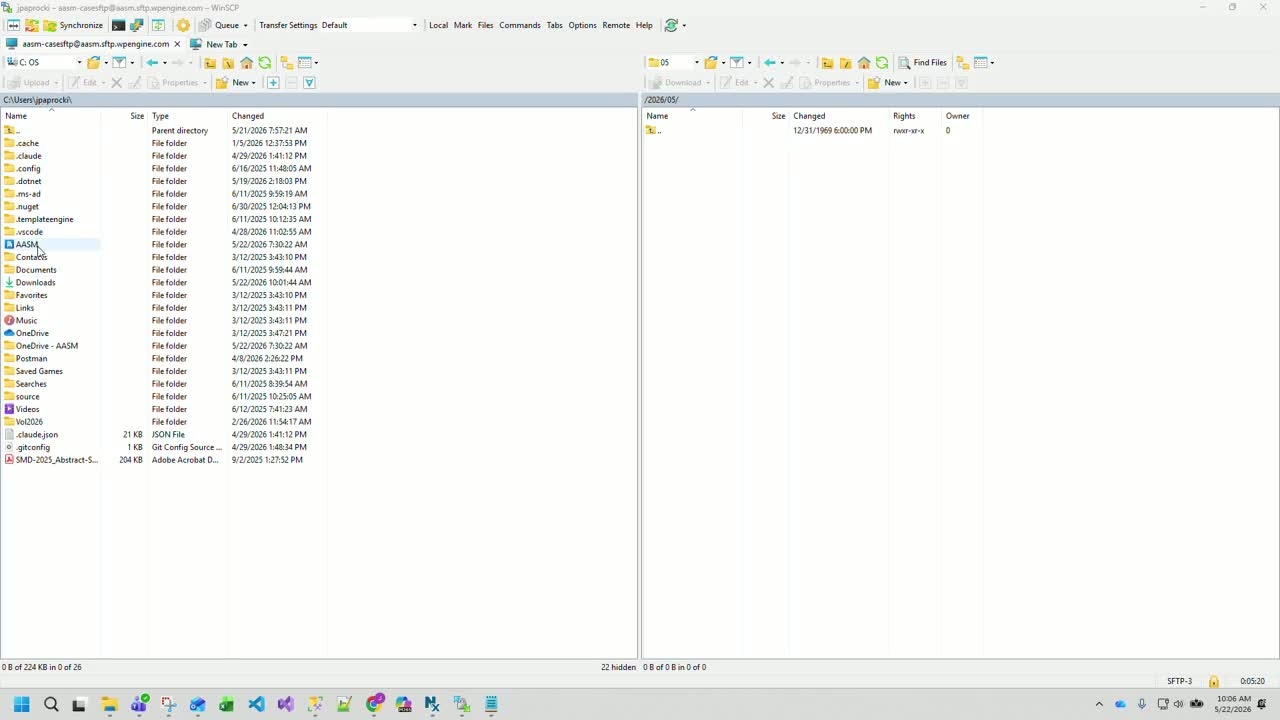
Select all files and folders in the source directory.
Drag the selected items into the destination folder in WinSCP.
When prompted to confirm the upload, click OK.
Wait for the upload to complete successfully.
7. Update the folder name or path reference if needed 3:21
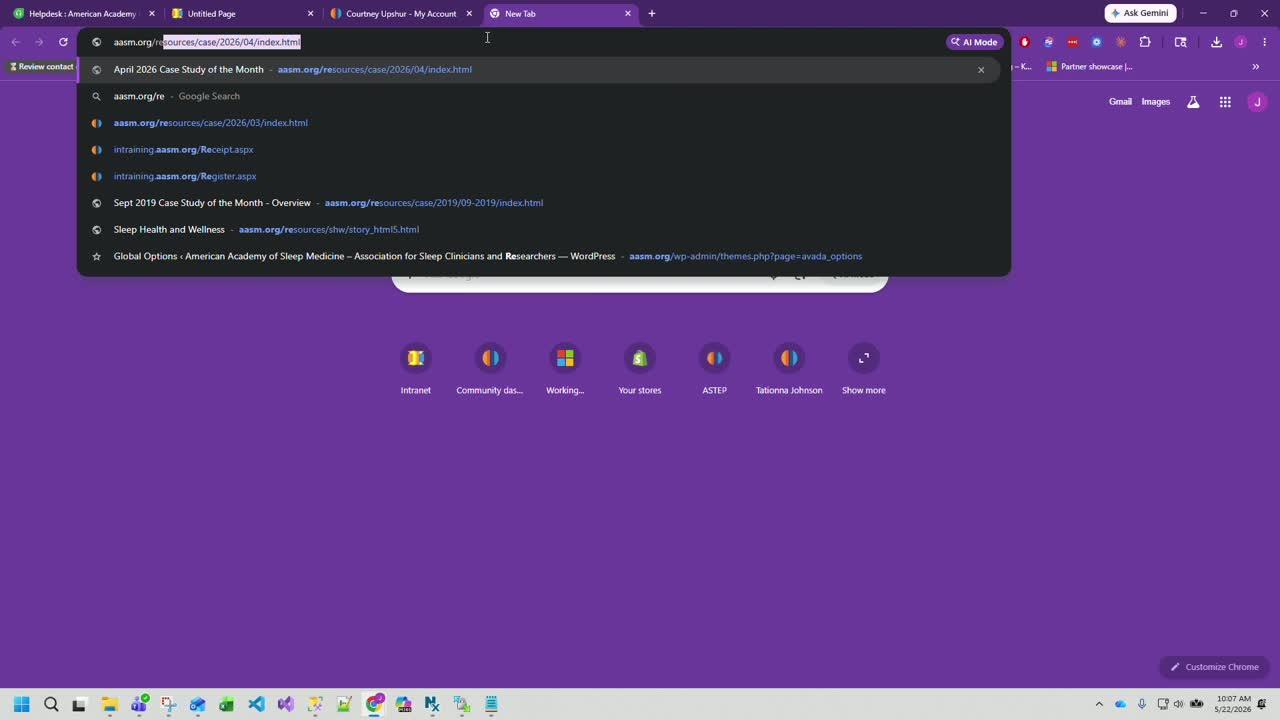
Verify the uploaded folder name matches the required project naming convention.
In the example shown, the folder name was changed from case 2026-04 to 05.
Confirm the updated folder loads correctly after the change.
8. Test the microsite after upload 3:21
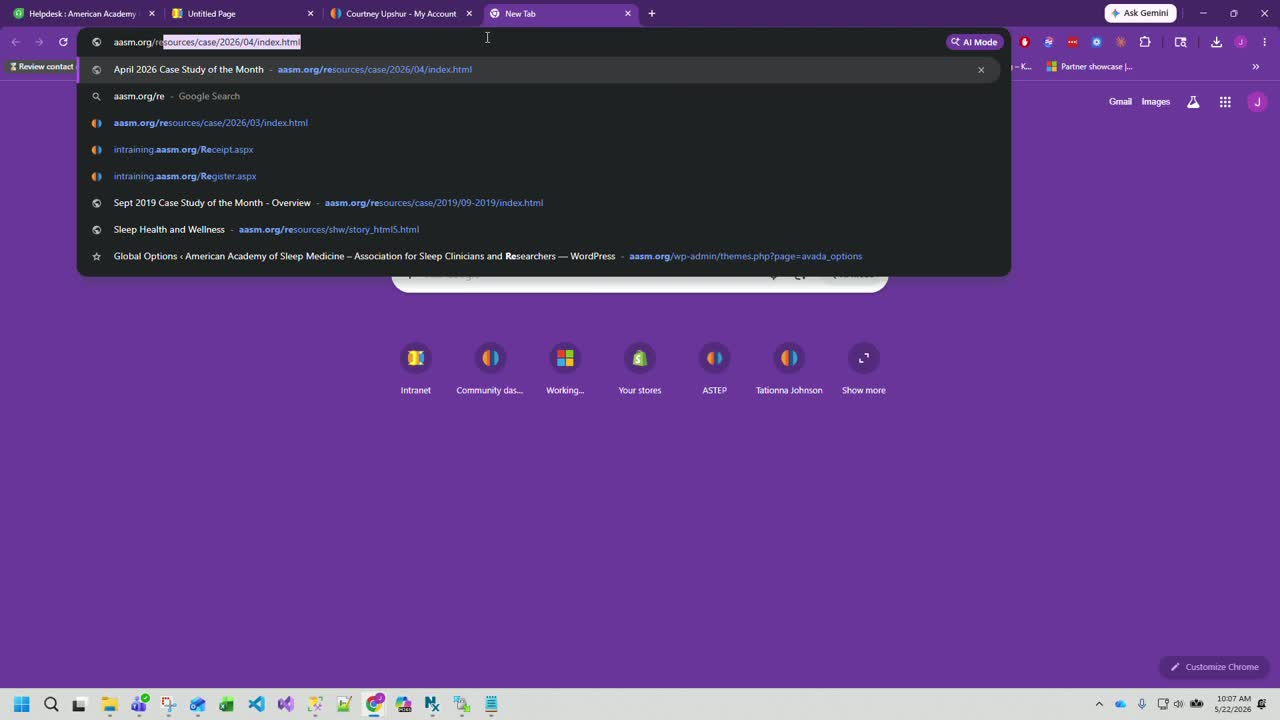
Open the uploaded microsite.
Click Start Course or the equivalent launch button.
Confirm the site loads and plays correctly.
Check for obvious issues such as broken links, missing assets, or failed page load.
9. Copy the final URL for the uploaded microsite 3:37
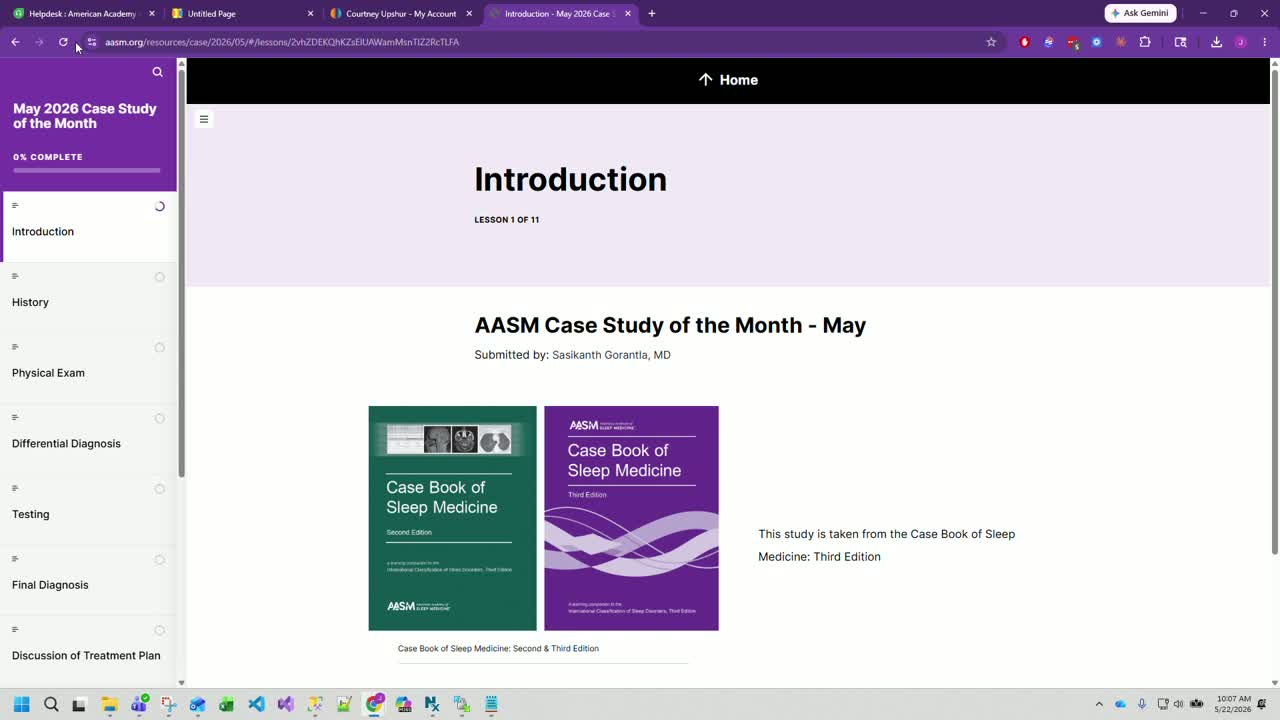
Return to the main page in WinSCP or the file location view.
Copy the full URL where the microsite is hosted.
Save or share the URL as needed for access and review.
Cautionary Notes
Ensure the Google Analytics code is pasted inside the
<head>section and not in the body or outside the HTML document.Do not overwrite or delete existing script tags .
Verify you are uploading the correct folder contents to the correct destination directory.
Confirm the folder name/path matches the required project naming convention before sharing the URL.
Always test the microsite after upload to catch issues before final handoff.
Tips for Efficiency
Keep the source folder and destination folder open side by side in WinSCP to speed up uploads.
Double-check the HTML placement before saving to avoid reopening the file later.
Use the same folder naming convention each time to reduce confusion.
After upload, immediately test the site so any issues can be corrected while the files are still fresh in memory.
Copy the final URL right away and store it in your project notes or task tracker.
Was this article helpful?
That’s Great!
Thank you for your feedback
Sorry! We couldn't be helpful
Thank you for your feedback
Feedback sent
We appreciate your effort and will try to fix the article