This tutorial covers how add an online course to the TopClass LMS. All Online Learning Activities in TopClass must first be created on the iMIS platform as products and then they are synced to TopClass. After the sync you can configure the rest of the learning content on the TopClass platform.
1. In iMIS navigate to "Commerce" in left menu

2. Click "Add Product"

3. Select "Learning Center" as Category

4. Fill in all relevant fields for the product. ie ProductCode, Name, Description, Image, Alt Text, Standard Price (Non-Member), Discount Price (Member).

5. Click "Save"

6. Go back into product edit mode and click "Accounting"
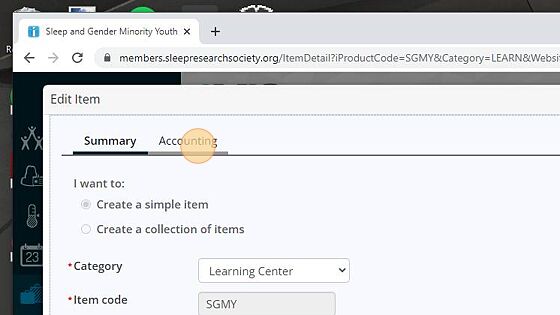
7. Change "Income" GL Account to "Online Products"

8. Click "Save and Close"

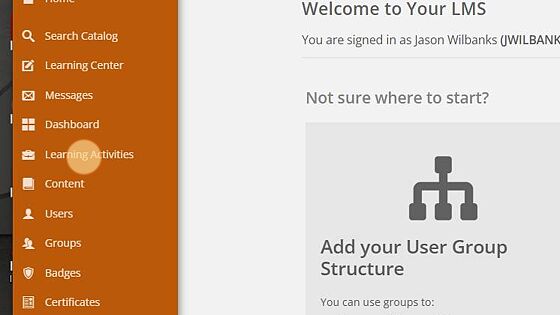
9. Go to https://learning.sleepresearchsociety.org and click "Go to Administration Center"

10. Click "Learning Activities" in left menu
11. Click "Sync Activities" button to sync product to TopClass

12. Confirm learning activity is synced.
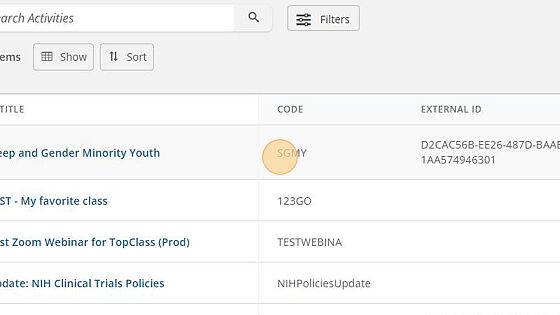
13. Click newly created activity

14. Uncheck the "Published" checkbox immediately so it does not appear in Public catalog.

15. Click "Save"

16. Click "Catalog Options"

17. Click "Add" under categories

18. Select appropriate category for it to appear in catalog

19. Click "Save". Later when you are ready to publish you can check the "Published" checkbox and Save.

Made with Scribe
Was this article helpful?
That’s Great!
Thank you for your feedback
Sorry! We couldn't be helpful
Thank you for your feedback
Feedback sent
We appreciate your effort and will try to fix the article